


What a Smart Thermostat Actually Does for Your Home
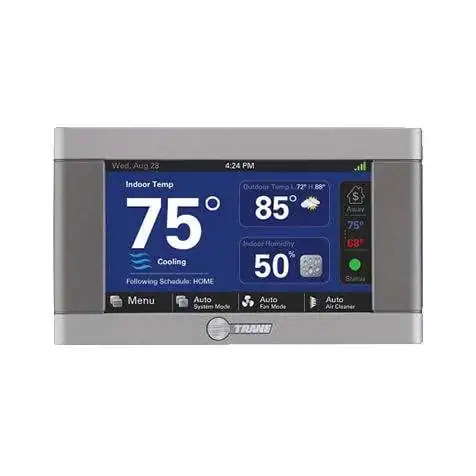
A smart thermostat is more than a fancier version of the dial on your wall. Beyond basic scheduling, most models learn your household’s routine, let you adjust the temperature from your phone whether you’re upstairs or across town, and send monthly energy reports that show exactly when your system is working hardest. Many connect directly to Google Home, Amazon Alexa, or their own app (Ecobee, Nest, and similar brands are the ones homeowners search for most), so voice control and geofencing become part of daily life instead of an extra step.
For homeowners in Northeast Ohio, the appeal usually comes down to two things: shaving money off winter and summer utility bills, and getting more precise control over comfort during our swing seasons, when a single degree can be the difference between a furnace that short-cycles all day and one that runs efficiently. It’s a reasonable upgrade for almost any home, but the real question is whether to install it yourself or have a professional handle it.
The DIY Installation Process, Step by Step
If you decide to install a smart thermostat yourself, the process generally follows the same sequence regardless of brand. First, shut off power to your HVAC system at the circuit breaker; this is a safety step, not a suggestion, since working on live wiring risks a short or a shock. Next, remove the cover of your existing thermostat and take a clear photo of the wiring before you touch anything. This single step saves more DIY installs than any other, because if something goes wrong later, you have a reference to fall back on.
From there, label each wire with the letter printed at its terminal, such as R, W, Y, G, or C, rather than relying on wire color, since color coding isn’t standardized across manufacturers. Disconnect the old thermostat, mount the new backplate so it’s level, feed the labeled wires through the opening, and connect each one to the matching letter terminal on the new unit. Snap the display onto the base, restore power at the breaker, and finish setup through the manufacturer’s app, which will walk you through connecting to your home Wi-Fi and programming your preferences.
The C-Wire Problem Nobody Warns You About
This is where most DIY installs hit a wall. Most smart thermostats need a “C” or common wire to draw continuous low-voltage power; it’s what keeps the display, Wi-Fi connection, and touchscreen running around the clock. Older systems were often wired without one, since traditional thermostats didn’t need constant power.
Without a C-wire, a smart thermostat may work at first and then start behaving erratically, rebooting on its own, losing Wi-Fi connection, or draining backup batteries within days. The fix is usually a Power Extender Kit or similar C-wire adapter installed at the furnace’s control board, which creates the missing connection. It’s solvable, but it does require opening up the furnace itself, not just the wall plate, which is exactly the kind of step that turns a 30-minute DIY project into an afternoon.
Compatibility Issues That Trip Up Older Systems
A standard single-stage gas furnace with central air is the easiest system to match with a smart thermostat; nearly every model on the market is built for that setup. Things get more complicated with multi-stage furnaces, heat pumps, zoned systems with multiple thermostats controlling dampers, and older millivolt or proprietary systems. Some of these need a specific thermostat model built to support multiple stages or heat pump auxiliary heat, and installing the wrong model can mean the system runs less efficiently than it did before the upgrade. Before buying anything, it’s worth confirming what type of system you have and cross-checking that against the thermostat manufacturer’s compatibility list.
When DIY Installation Makes Sense
DIY is a solid option if you have a standard single-stage furnace and AC, you can already see a labeled C-wire behind your old thermostat, you’re comfortable working near your electrical panel, and you don’t mind troubleshooting an app pairing issue if one comes up. For a lot of homes, that describes the whole project accurately, and there’s no reason to pay for a service call.
When to Call a Professional Instead
It makes more sense to bring in a technician if you don’t have a C-wire, if your system is a heat pump, multi-stage furnace, or zoned setup, if you opened the wall plate and aren’t confident about what you’re looking at, or if you simply want the job done correctly in one visit. A professional install also protects any manufacturer or workmanship warranty tied to your HVAC system, which some DIY wiring mistakes can technically void.
What Professional Installation Adds
Beyond convenience, a professional visit starts with an accurate diagnosis of your system type, so the thermostat you end up with actually matches your equipment instead of a best guess. If a C-wire adapter is needed, it gets installed correctly at the furnace control board the same day, rather than becoming a second project. And because the work is done by a licensed technician, it typically comes with a workmanship guarantee that a DIY install simply doesn’t have.
Smart Thermostat Installation: Common Questions
Can a smart thermostat be installed without professional help?
In many homes, yes, especially if you have a standard furnace and AC setup with an existing C-wire. The process is well documented by manufacturers. The complexity increases significantly with heat pumps, zoned systems, or older wiring.
What are the benefits of professional installation?
An accurate system diagnosis before anything is purchased, a same-day fix if a C-wire adapter is needed, correct wiring for multi-stage or zoned systems, and a workmanship warranty that protects the installation itself, not just the thermostat.
Is my HVAC system compatible with a smart thermostat?
Most single-stage furnace and AC combinations are compatible with nearly any smart thermostat on the market. Heat pumps, multi-stage systems, and zoned homes need a model specifically rated for that setup, so checking the manufacturer’s compatibility list before buying is worth the five minutes it takes.
How much does professional smart thermostat installation cost?
Cost depends on whether your system already has a C-wire and how accessible your furnace control board is. A straightforward swap is typically a short service call; a system that needs a Power Extender Kit or additional wiring takes longer and costs more.
Do I need a C-wire for a smart thermostat?
Most smart thermostats need one to stay powered continuously. If your system doesn’t have one, a Power Extender Kit installed at the furnace can create that connection without running new wire through your walls.
Thinking about upgrading but not sure what’s behind your wall plate? Schedule a compatibility check with Dee’s Heating and Cooling and we’ll tell you exactly what your system needs before you buy anything.